Contact Me
In an effort to help others, I am posting my 3d printing experiences, failures, and successes.
My Resin Protocol
by Pete
This is my current resin protocol. By that, I mean that this is how I actually make prints in a step by step manner. Man, there are a lot more steps to this than I imagined when I sat down to write this. First, the set up:
The Resin Printer
The printer in question is an Anycubic Photon S. I got it on sale with the wash and cure station 2.0. I have used up one bottle of resin so far in my learning how this little magic box works. Also, how it doesn’t work, and how they say it works, and how mine actually works.
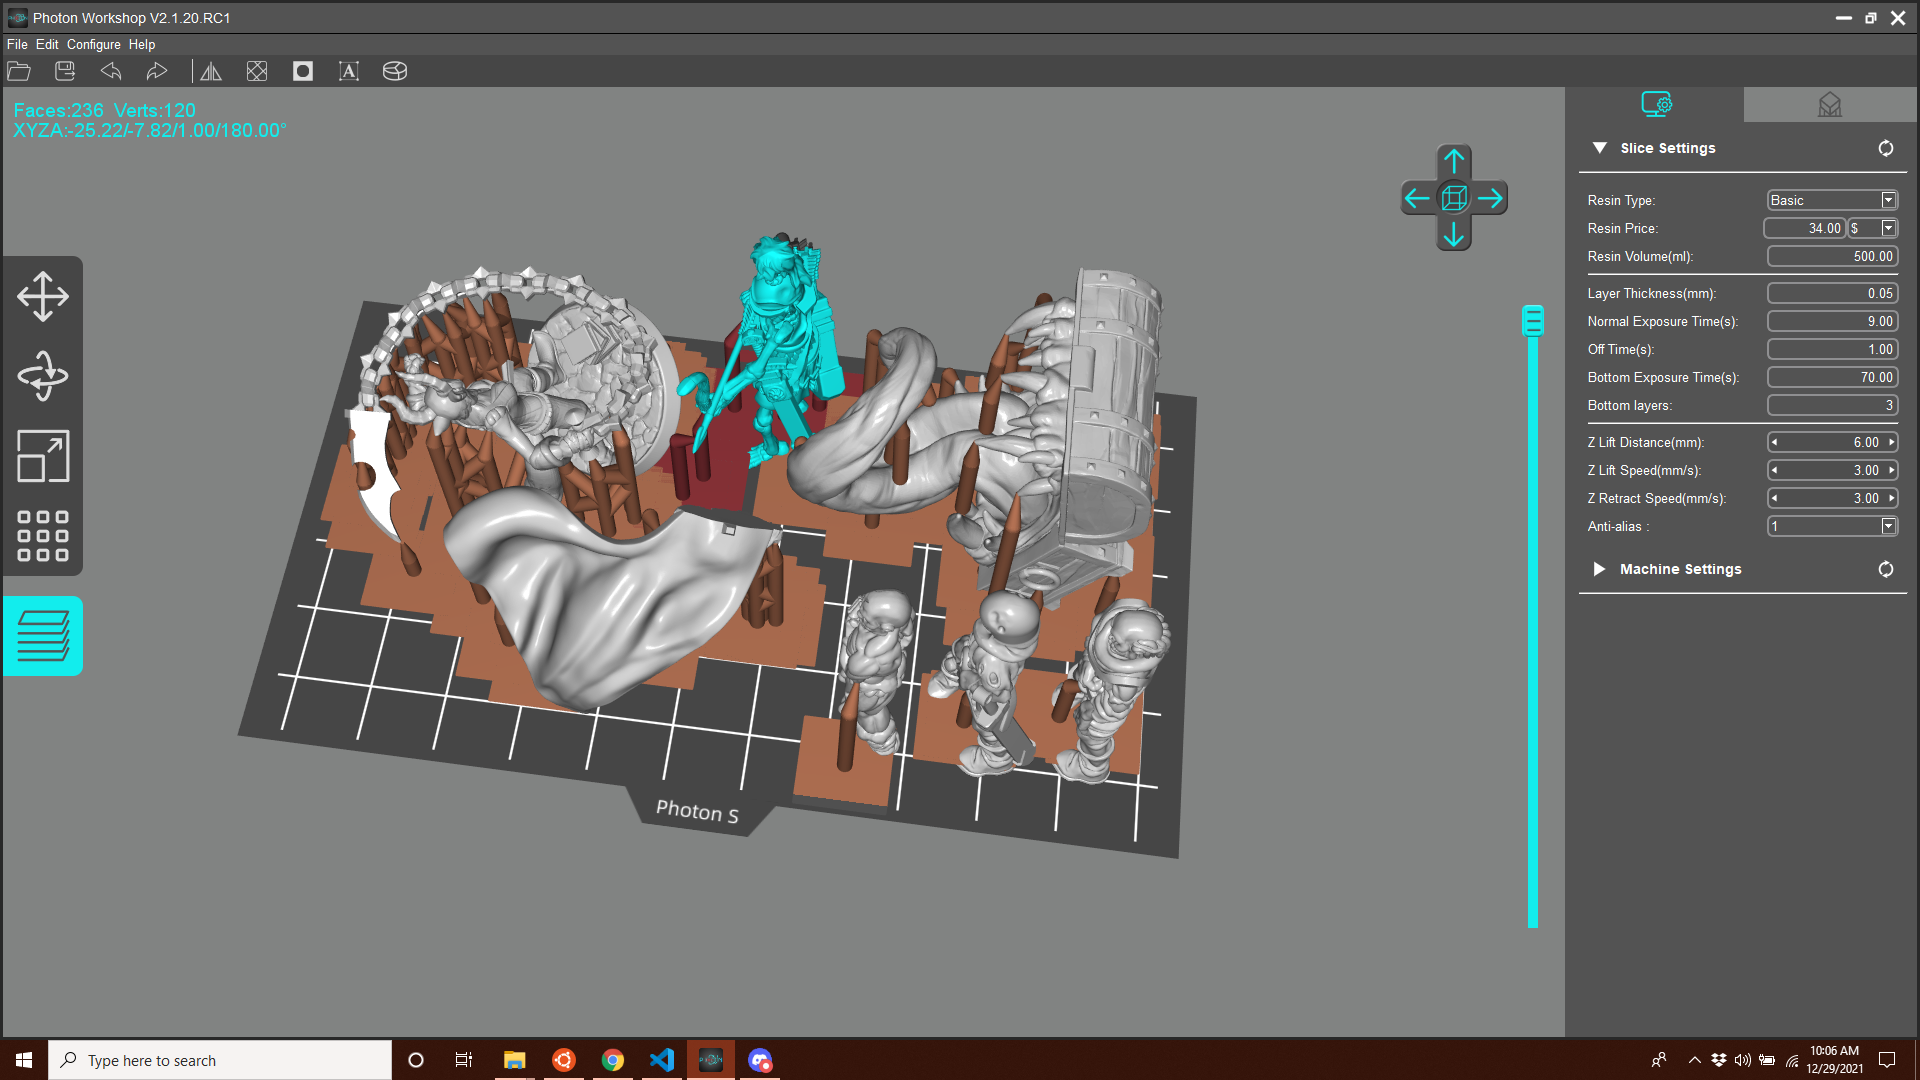
Printer Settings
- Normal Exposure Time: 9.00 Seconds
- Bottom Exposure Time: 70.0 Seconds
- Bottom Layers: 3
- Z-Lift Speed: 3.0 mm/s
- Z-Lift Distance: 6.0 mm
The Resin
Today I am using Anycubic’s White EC UV Resin
The Models
The models I am printing today:
- Druid Mini from Heroforge’s STL download.
- A Mimic mini from Thingiverse?
- Some Zombies Zombies Zombies from Thangs.
The Tools
- Plastic spatula
- Dry PTFE Spray Lubricant
- Allen wrench for your print plate alignment.
The Method
- Find or make some models to print.
- Open your slicer software and load your models into the scene or project.
- Arrange the models in the slicer so they do not touch or overlap. You can rotate and turn them to Tetris them in nice and tight.
- Add supports to your models in the slicer. One by one select your models and add lots of supports. Or let the software do it and then add some more supports!.
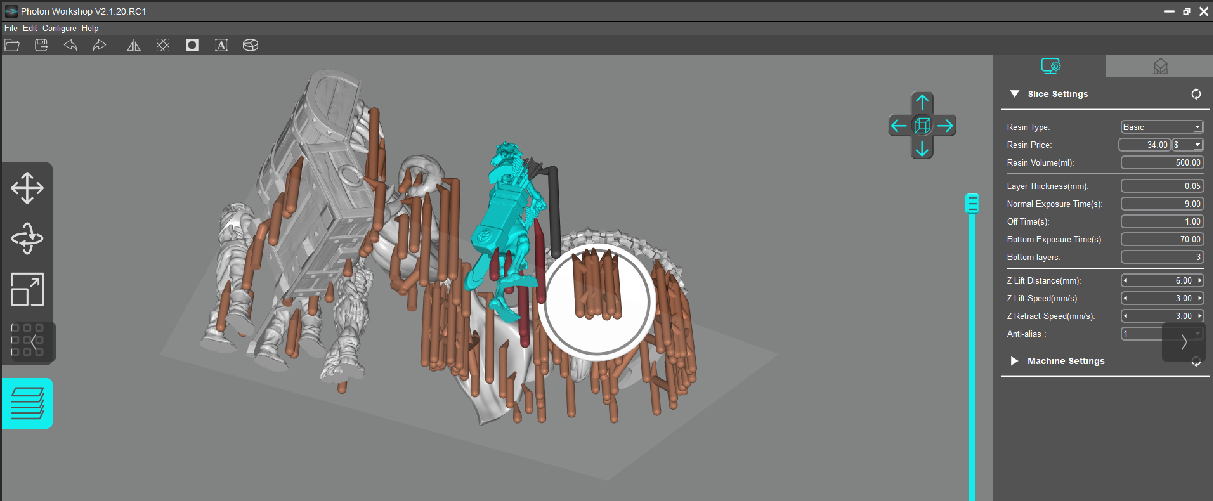
- Yes! Even pre-supported models need more supports.
- “Support Free”? Not on my watch.
- The main thing you need to remember is that there are forces on your models while they print. There is the lifting force of the print plate, the adhesion force of the model on the print plate, and the suction force of the print on the print screen. When printing, the adhesion force of the print to the print plate needs to be greater than the opposing suction force. Therefore you need to look at the cross section of your print and make a judgement comparing the surface area of your first layers verses each subsequent layer. In short; make more supports to give more surface area on the plate than the surface area of any slice of the model itself.
- Save your “scene”. Saving the scene saves your build plate to a file in case you want to use the same setup again and make adjustments.
- Slice your model as per the software.
- Save your new sliced .PWS/.PHOTONS file. And copy to your thumb drive.
- Eject your thumb drive from your pc.
- Plug thumb drive into your printer.
- Install the print plate, making sure it’s properly aligned to the screen.
- Level the printer itself. (Your printer needs to sit on a sturdy level spot where it will not vibrate or be moved. a wobbly card table is a bad choice)
- Level your print plate as per the directions. Tighten the set screw on the print plate.
- Spray your resin tray print screen with Dry PTFE Lubricant. Wipe the print screen with a dust free cloth to remove all but a thin layer of lubricant on the print screen. (This only needs to be done when it needs to be done, probably not every time you print. Use your best judgment.)
- Inspect and then install your resin tray.
- Fill the resin tray 1/3 full of resin. (Wear Gloves).
- Close up the printer.
- Slowly, using the LCD screen, lower the print bed into the resin and raise it up again. Do this twice to ensure the entire surface of the print plate has been covered with resin.
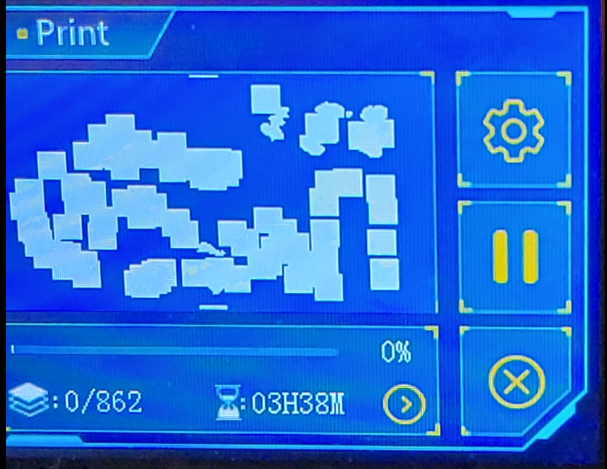
- Using the LCD screen, select the print menu and find your file. Select your file and then press start.
- Wait a while. Like 15 minutes
- Pause your print and let the print plate rise up so you can see underneath it. You should see some layers of your print stuck to the print plate.
- Restart/Un-Pause your print.
- Wait for print to complete.
- Remove Print Plate and place in wash station alcohol bath.
- Wash your print and build plate for at least 5 minutes.
- Remove build plate from wash station and set on paper towels.
- Using the plastic spatula remove the prints from the print plate onto the paper towels.
- Briefly let the prints dry.
- Place prints in the cure station and cure for at least 5 minutes.
- Examine your prints and remove the supports.
- Prime and Paint your prints.
- Enjoy Your Newly Minted Artifacts!
Wind up
Yes, that is a lot of steps. Keep in mind I did not include steps for when something fails.
For example: if you check your print 10 minutes after starting (step 18) and see nothing sticking to the build plate, you need to restart from step 13 at least. Probably from step 3 is a better idea.
I had an issue where the resin was not curing at all in the printer. Not on the print bed or the print screen. I tested the resin with a UV LED and it turned hard as expected. I was stumped. The printer was on and the light was on but the resin was not curing. A google search said I should turn the printer off and on again. I did just that and it magically fixed the issue. There was no explanation as to why this occurs.

Finished Prints
Full disclosure, this was not a perfect print. One of the minis lifted away from the build plate on one side and failed to print properly. I did get 2 zombies and a larger Mimic though.
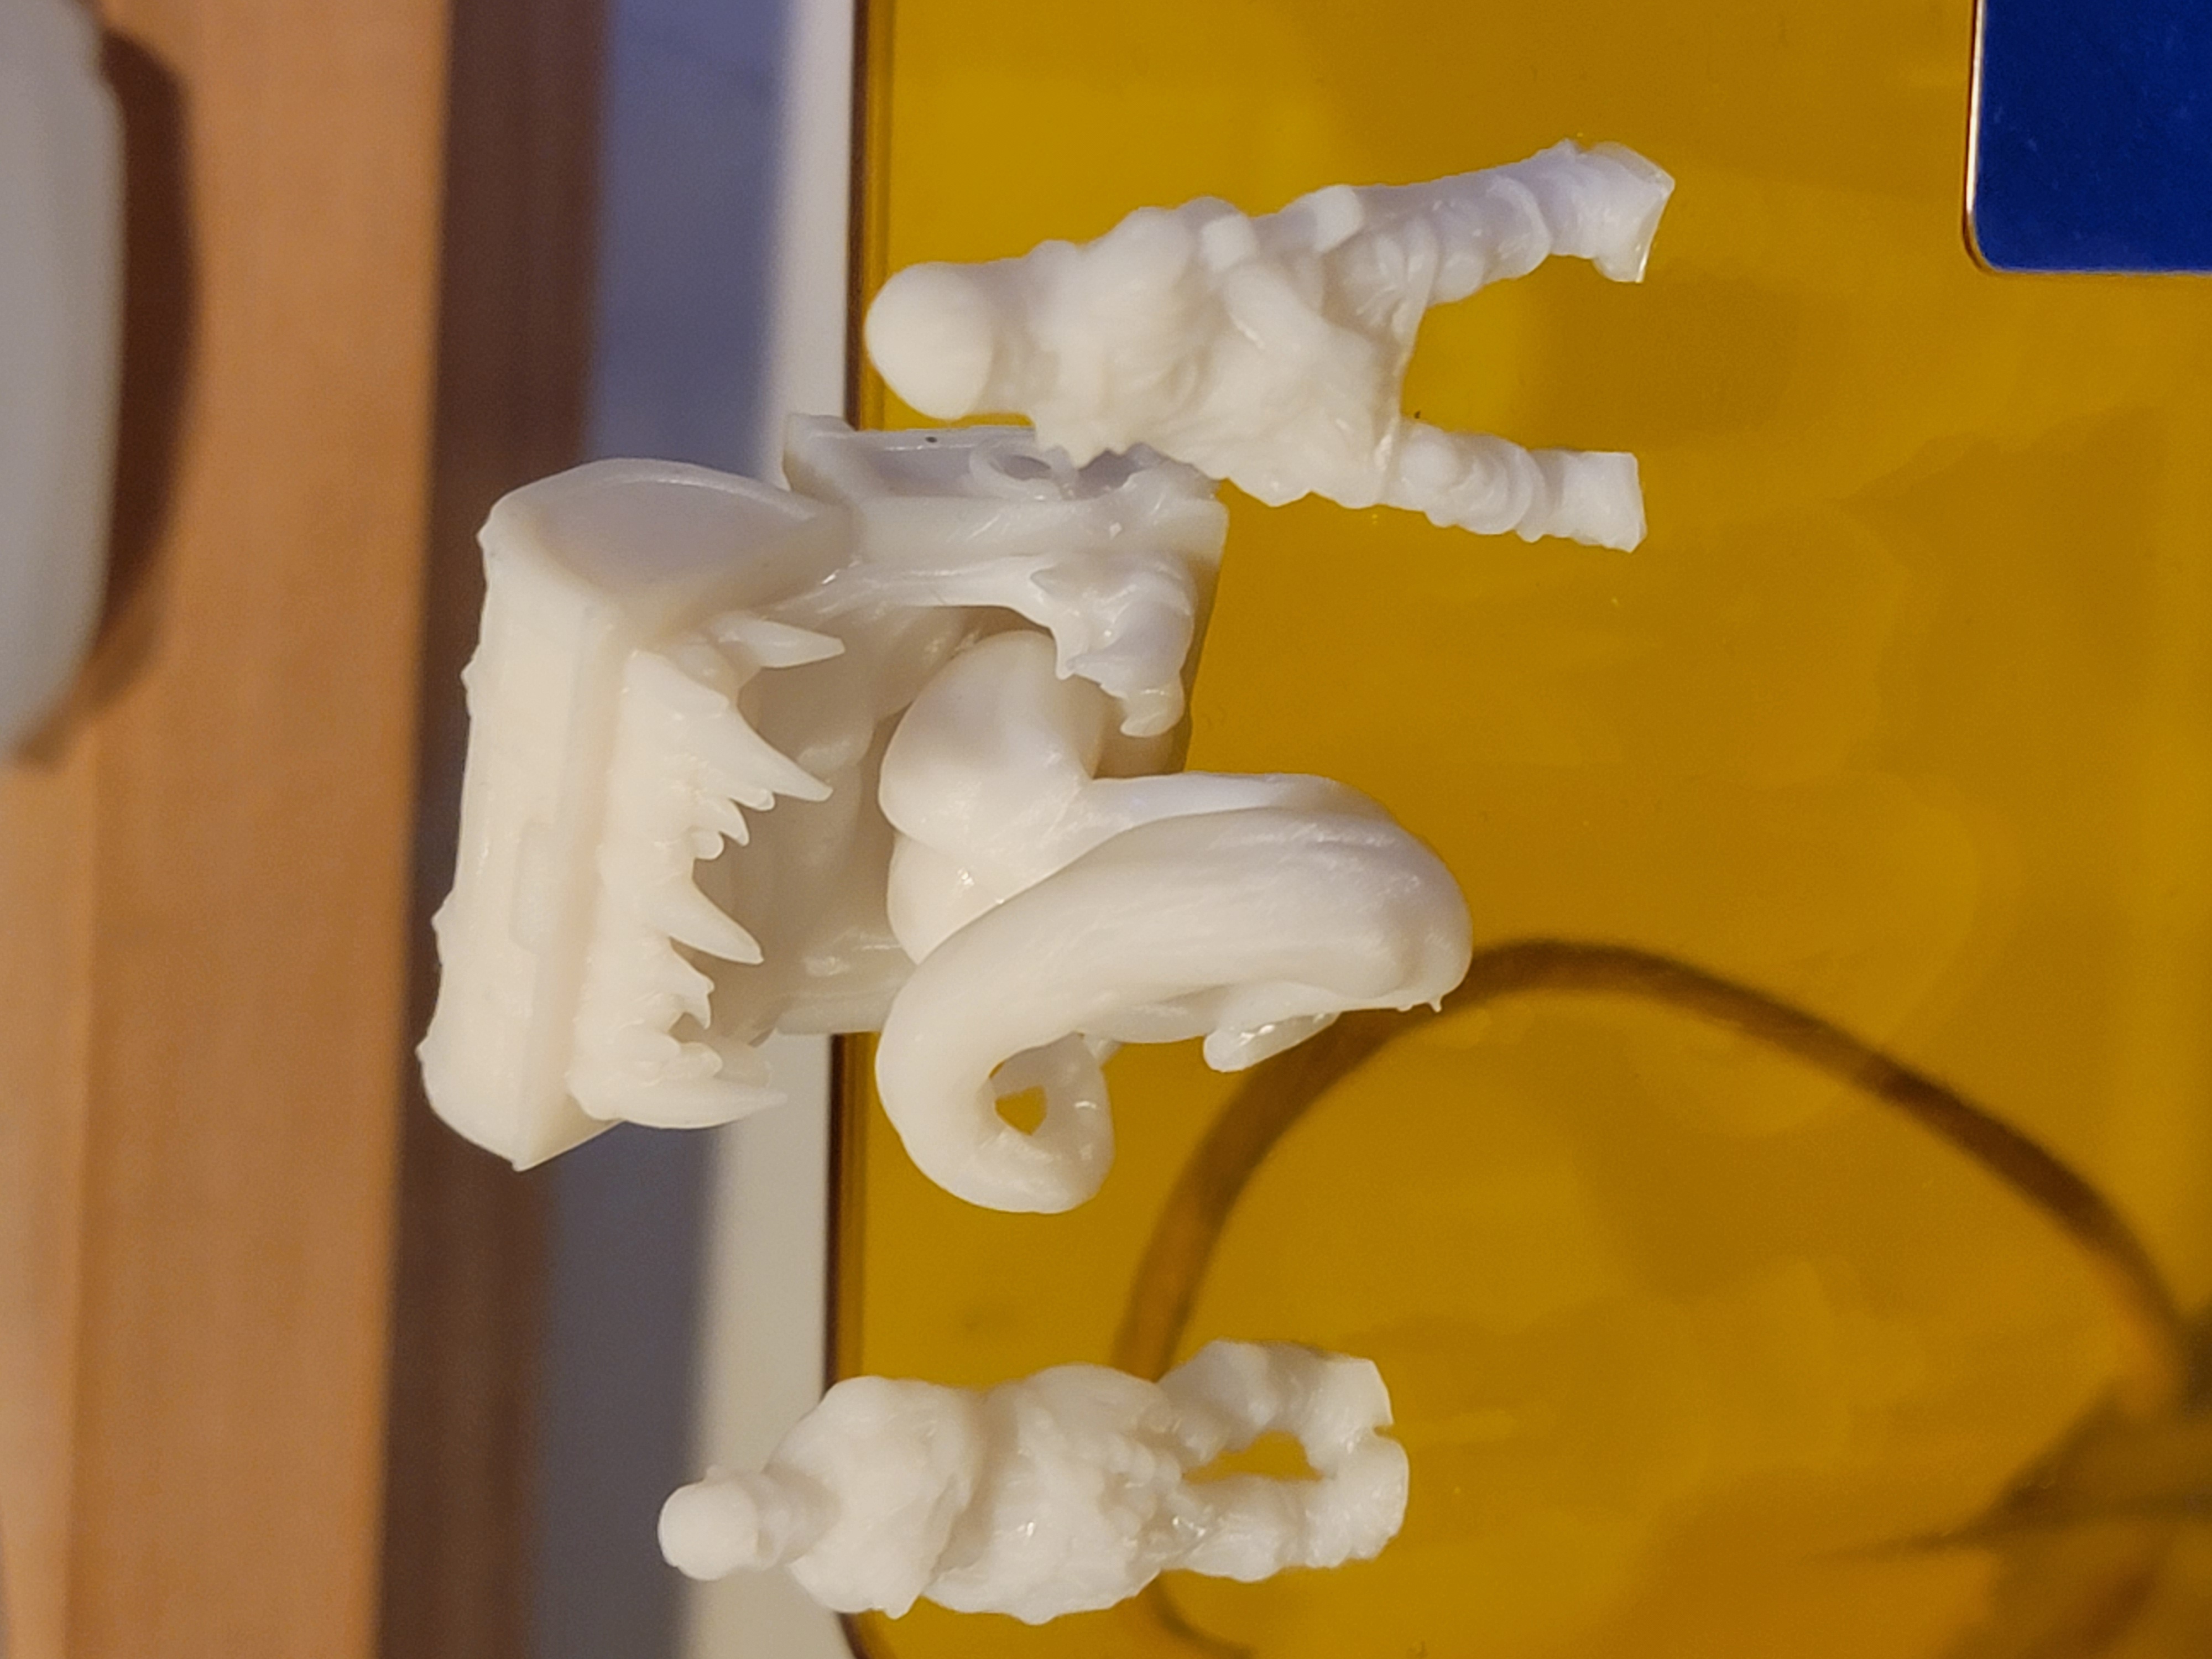
They need some paint to pop. I will get on that soon.